Intercepting Web Requests
A Walk-Through Solving Hack The Box Academy's Web Proxy Module on Intercepting Web Requests.
Objective : Try intercepting the ping request on the server shown above, and change the post data similarly to what we did in this section. Change the command to read 'flag.txt'
Target(s): 94.237.48.12:42249
Note: I'm using Pwnbox, so you don’t need to set up a local VM for this.

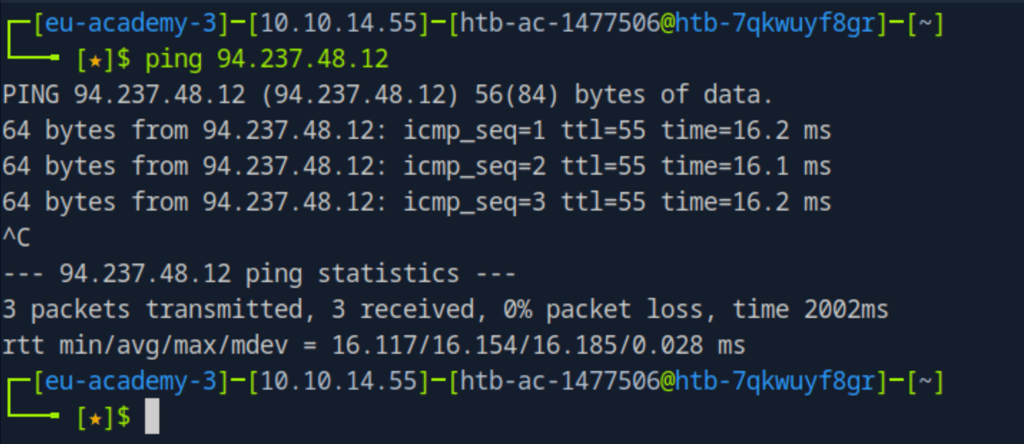
First, we open a terminal that uses the Bash shell. We'll start by pinging the target IP to check if the machine is online and responding. The ping command will keep running by default — you can stop it anytime by pressing Ctrl + C.

To intercept HTTP web requests, we can use either BURP or ZAP.
BURP
We'll open Burp Suite — a powerful web proxy tool used for intercepting and analyzing HTTP requests.
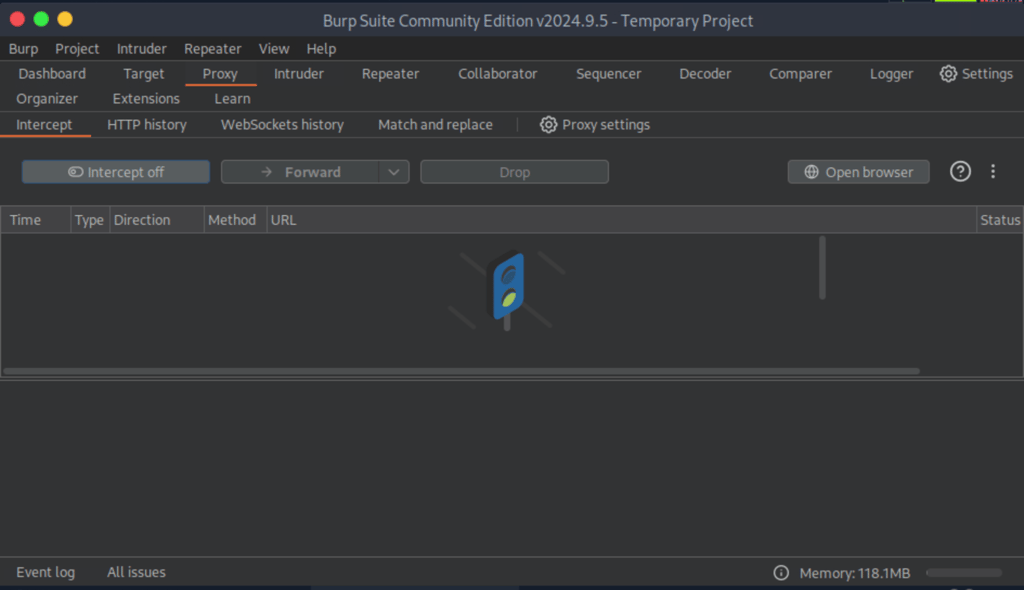
Start by going to Proxy > Intercept and make sure the interceptor is turned off for now.
📌 Why? If it’s on while you load the target website, the page won’t load properly because Burp will intercept the request before it reaches the server. We’ll turn it on later when we’re ready to capture a specific request (like our ping input).

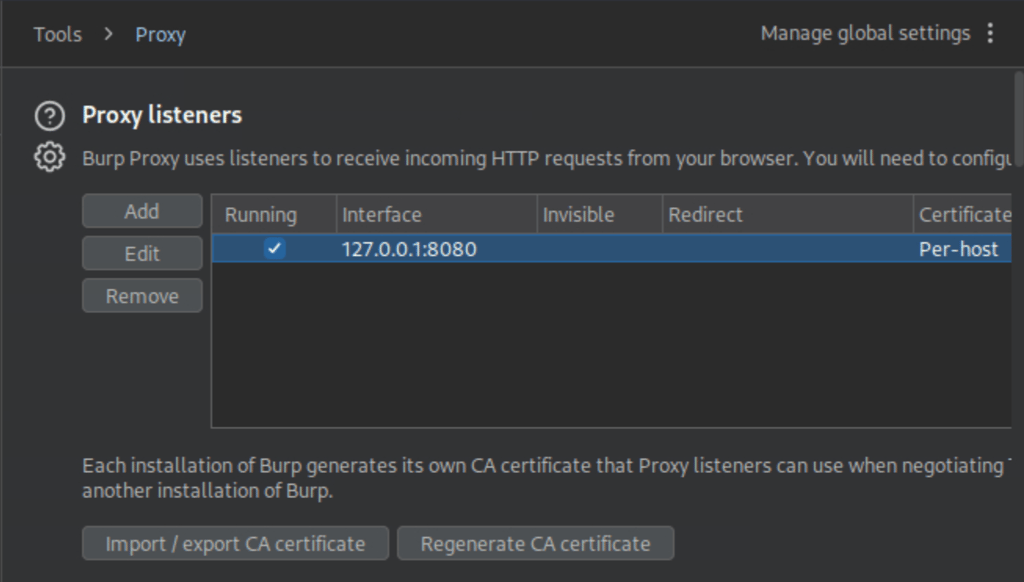
Also, go to Proxy > Proxy Settings and ensure that the listener is active.
You should see something like 127.0.0.1:8080.
📌 What does this mean?
This means Burp Suite is listening for incoming HTTP requests from your browser on localhost (127.0.0.1) using port 8080.
Your browser traffic must be configured to go through this address, so Burp can intercept and analyze it.

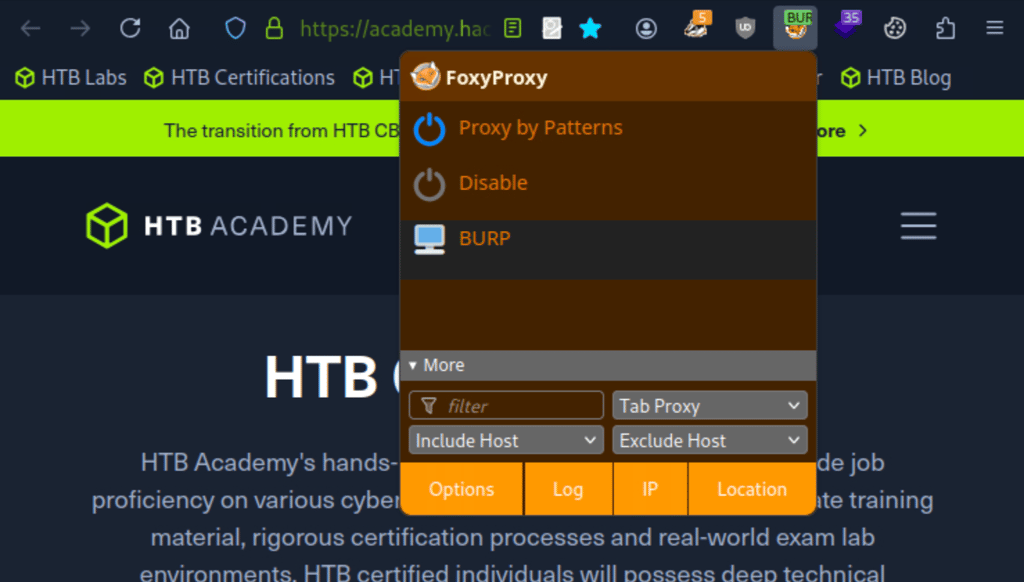
Now, open your browser (I'm using Firefox), and activate the FoxyProxy extension.
Switch to the “Burp” proxy profile you’ve configured earlier.

Go to the target IP in your browser. The website should load like this (see below).
Now, set the ping value to 1 so we can test it out.
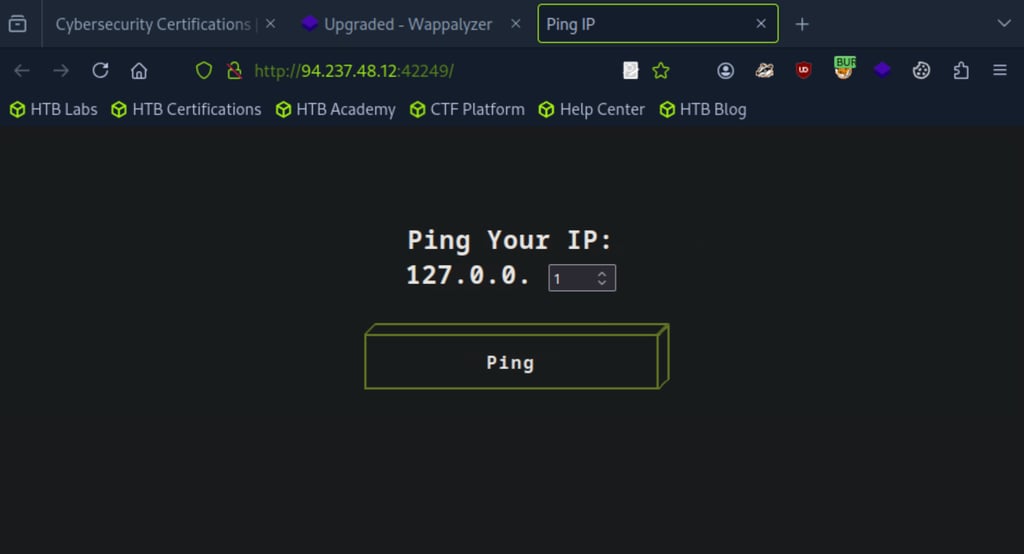

Go back to Burp and turn Intercept on. Then, return to the website and click the Ping button to intercept the ping request.


You’ll see a POST request captured in Burp from our ping action. To obtain the flag, we need to modify the request — line 17 where it says ip=1. Change it to ip=;ls; to inject a command.
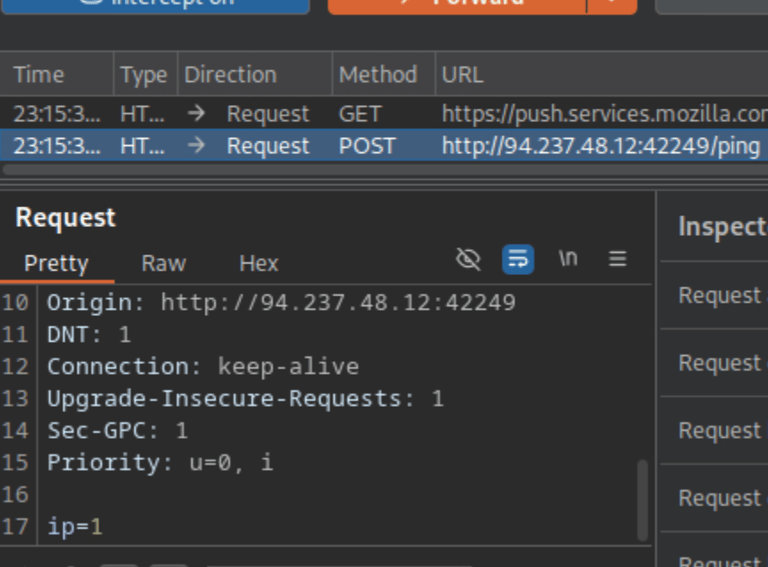

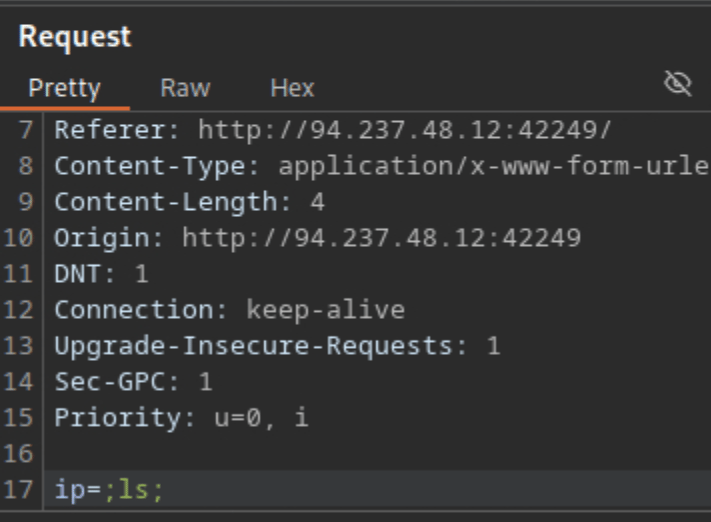

After making the change, turn off Intercept. Then, go back to the website — you should now see a list of files from the backend displayed on the page.
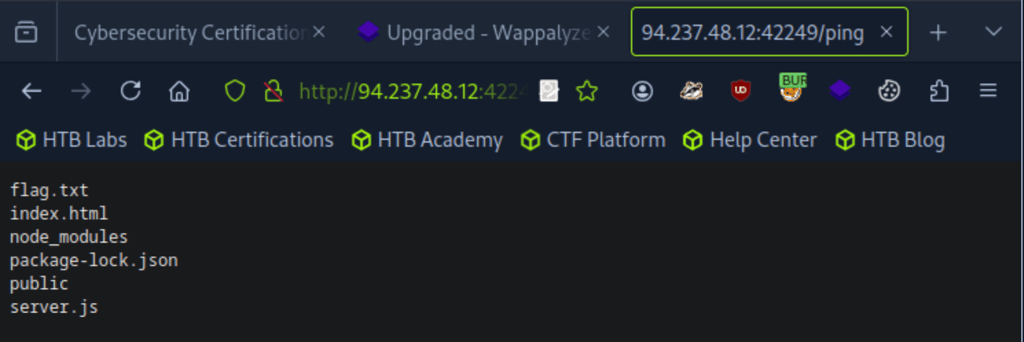

Now, go back and repeat the ping request one more time — but this time, change ip=1 to ip=;cat flag.txt;. This command will read and display the contents of the flag.txt file, allowing us to capture the flag.
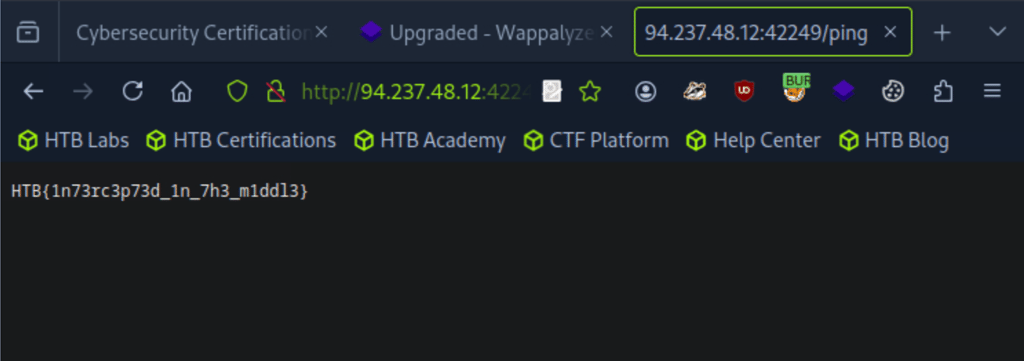
Flag captured : HTB{1n73rc3p73d_1n_7h3_m1ddl3}

ZAP
[As I'm writing ZAP on a later time, I have now a different target ip than the one I used with BURP, however it'll work just the same].
Target(s): 94.237.57.115:49234
First, we will open our browser and activate Foxyproxy>Proxy by patterns, then navigate to your target ip: http://<target ip>/
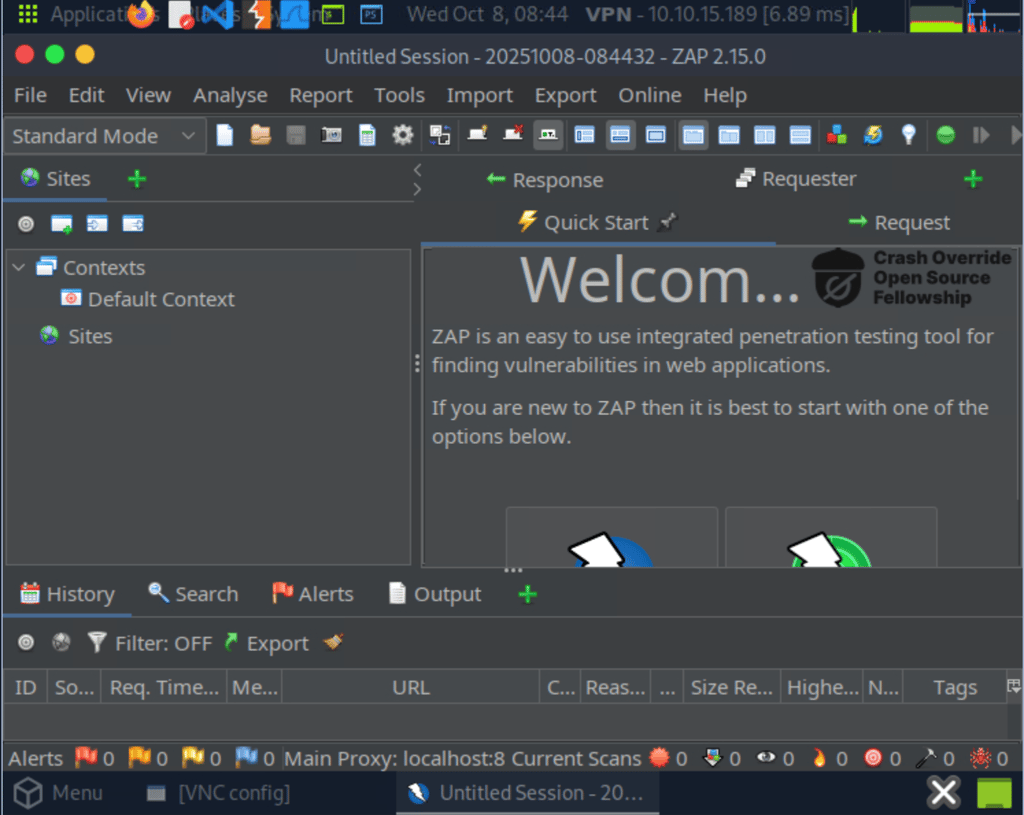
Open owasp-zap (see below to see how it looks like), and toggle the green button on the top right corner. In ZAP, interception is off by default, as shown by the green button on the top bar (green indicates that requests can pass and not be intercepted). We can click on this button or click CTRL+B to toggle it on/off (Red = on).
If you see a + button next to the requester, click it and choose Break from the dropdown. This will make the break visible in the interface.

Navigate to your browser and set the ping value to 1, then click ping. You'll see the request being intercepted by zap.
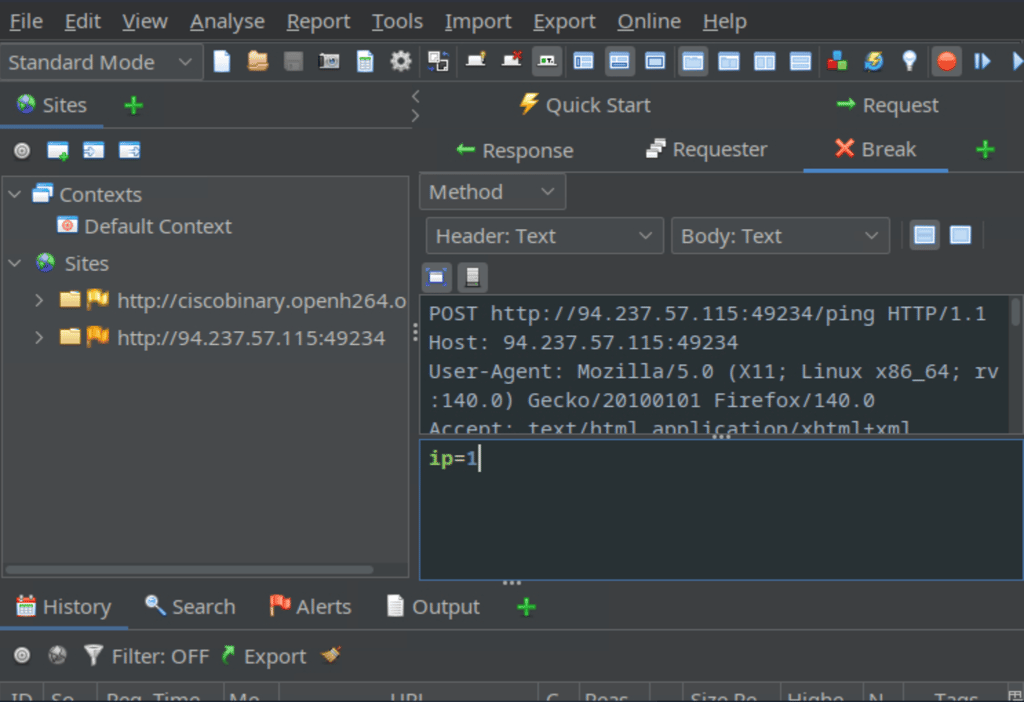

Just like we did previously with Burp, change ip=1 to ip=;ls; then click step and toggle the intercept button off (green=off).
The step button is located next to the intercept button (see below).

You'll now see a list of files from the backend (from the command =;ls;) displayed on the interface.


Now, go back and repeat the ping request one more time — but this time, change ip=1 to ip=;cat flag.txt;. This command will read and display the contents of the flag.txt file, allowing us to capture the flag.
Flag captured : HTB{1n73rc3p73d_1n_7h3_m1ddl3}

